Group Lead Design. Innovative concepts in under 2 hours.
As part of a Middlesex University AimHigher scheme we were asked to a 2hr workshop on ‘product design’. This started a quick tour of the workshops, and then a brief over view of what they thought a product designer was.
We then told our group of 20 students that we were going to create and develop a new and innovative concept based upon there interests. By using the students interests we could use them to get insight into the specific project.
The point of the workshop was to explain the concept development process of product design, and concept presentation aspect, that is so important to communicating core product ideas. The young designers were year 7′s (11 year old) and y11′s (16 year old). I was amazed at how capable the students were with using product design processes.
[flv:http://www.benarent.co.uk/video/workshop_hamagotci.flv 600 400]
Part 1: Brainstorming.
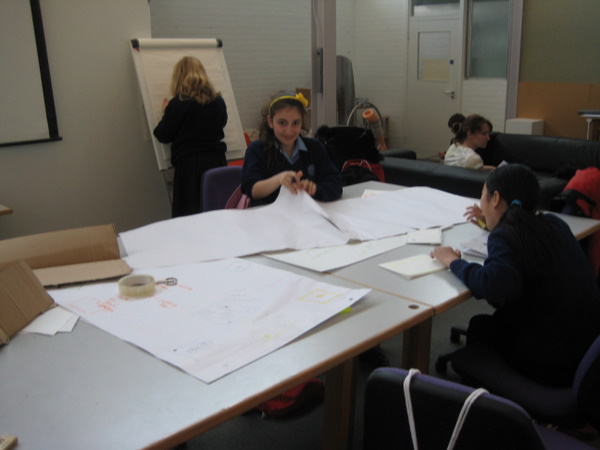
The first part was to find a problem to solve / improve. We tried to find a common theme in the group. The first group of 11 year olds were a all female group, which we all gamers. I was amazed at how many game consoles they owned and how many games they played.
For the brainstorming session we used a large roll of ‘butchers’ paper which allowed for all of the students to write down there ideas as the thought of them. Using a large roll creates a common item that everyone in the group had contributed to. Anything put on the paper by us leading the workshop was very rough, so that everyone felt they could convey there idea even if they couldn’t draw or spell exactly what they wanted.
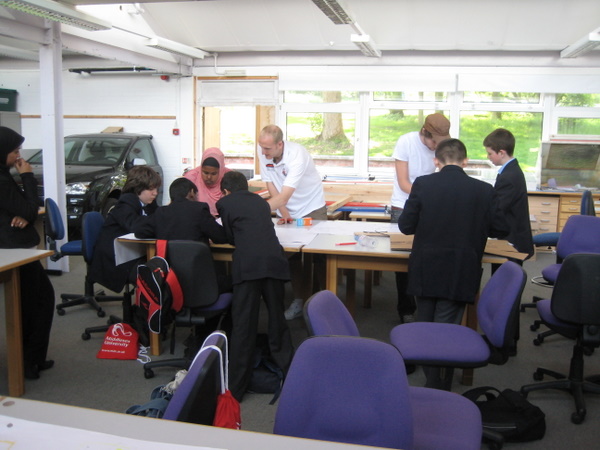
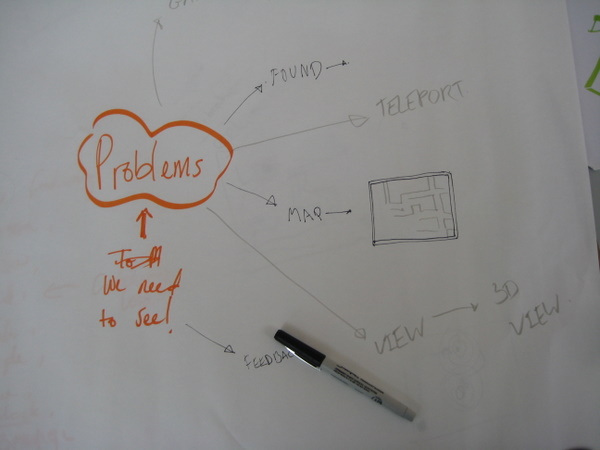
Part 2: Filling out the core concept.
After about 20 minutes the group had a core concept that we chose and then we created concepts based on this theme. The complete product experience is thought out, including product flow, form, functionality. All of these aspects are grouped together and evaluated in the next stage, testing.
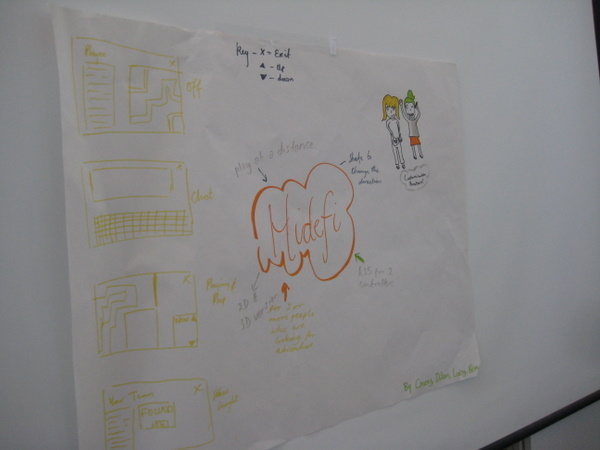
Part 3: Testing with prototypes.
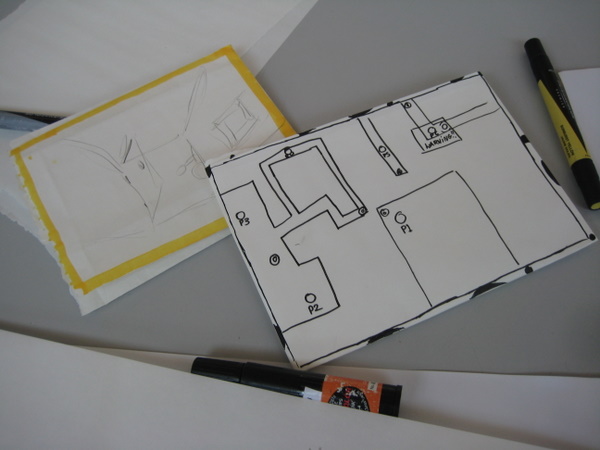
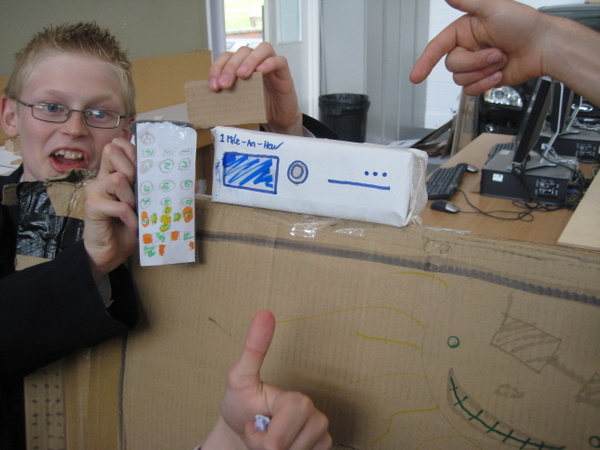
The next stage is to take all of designs and create some paper and card prototypes that embody the concept. This prototyping often creates a bunch of issues that the team didn’t think of in the earlier stage. Just by having a prototype allows all the members in the group to fully understand the concept.
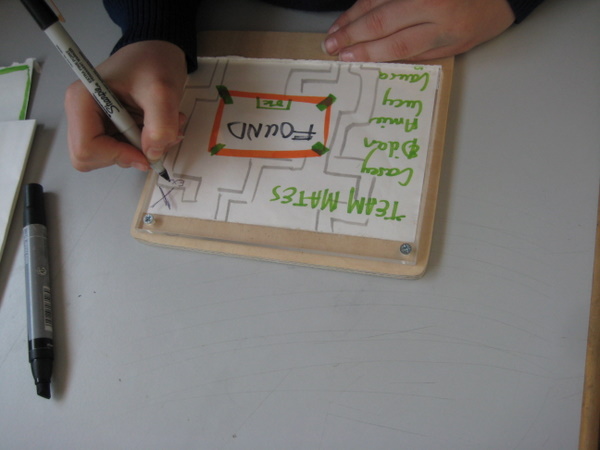
Prototyping can take many forms, in the first group we created a MMOG (Massive Multiplayer Online Game) that used physical and digital space to remake hide and seek. To experince the game we split into two group and gave the two players directions to try to simulate the game. This brought up a range of problems which meant we ended up itterating how the game was played.
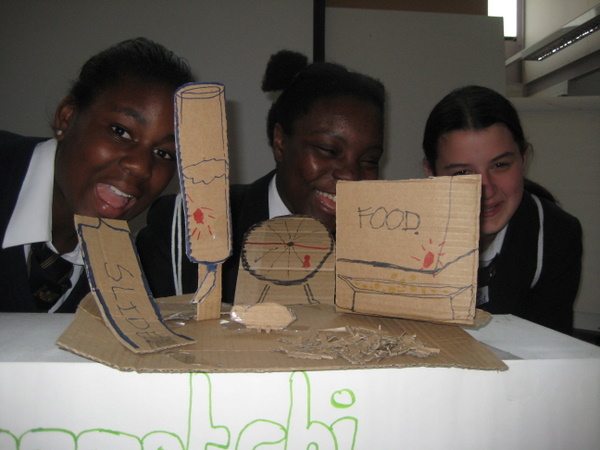
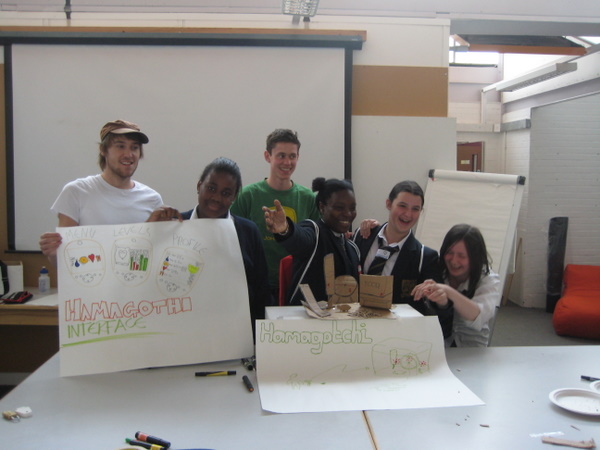
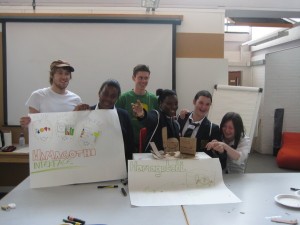
The image below shows the ‘hamagotchi’.
The Problem.
The 5 girls loved pets but they keeped on dying and when they had a pet they would easily forget to feed and look after their pet.
The Solution.
A new design of hamster cage that monitors your pet. It collects this data and display the information to a digital representation of you pet, in the form of a tamagotchi. So if the ‘hamagotchi’ was sick, this would mean that your real hamster would be sick.
Part 4: Presenting the idea.
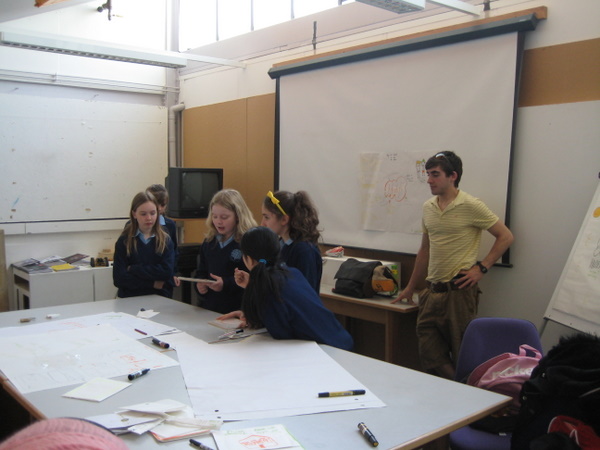
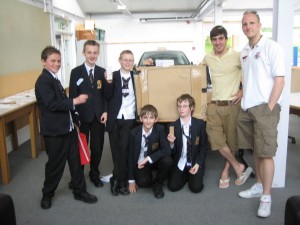
The last stage was a group presentation of the concpet. I was amazed at how well the students presented there extremley concepts. The group were all involved as they all had been a key member in the development process. The physical models were usfull to convey the ideas to the other team.
Part 5: Whats Next?
By the end of session we had created 4 amazing concepts. At this point normally these concepts would be tucked away and fogotten. Although I plan to see if I can some intresst in the Hamagotchi Idea, I have a patent application ready, and plan to run it thought a mobile phone website. http://www.petagotchi.com and http://www.petagochi.mobi.
Watch this space to find out what happens.
If you run one of these workshops please get in touch. I find the format works well with students. But I’m sure it would work well with excetives if you get them to loosen up.
Thanks to our young designers and to Winchmore Hill School.
Product Generalist
Currently in Oakland, CA